from https://blog.zhjh.top/archives/XokySA7Rc1pkVvnxAEP5E
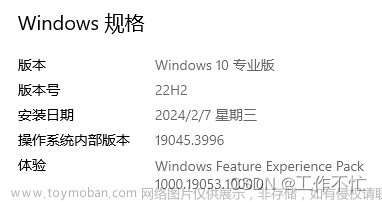
前提是系统为 Windows 10 22H2 10.0.19045.2311 或更高版本,尽量新。
步骤
使用 WSAPatch 和 MagiskOnWSALocal 安装 WSA
-
在 Microsoft Store 中安装 Ubuntu LTS(或你喜欢的发行版),此处为 Ubuntu 20.04.5 LTS。

-
开始菜单找到并打开安装的 Ubuntu,执行以下命令。Linux 子系统的 /mnt 目录,可以访问到 Windows 的文件系统。
2.1 克隆 MagiskOnWSALocal 仓库,如果卡住不动请合理使用代理或搜索 “github 镜像站”(要确保更新到了最新!)。
git clone https://github.com/LSPosed/MagiskOnWSALocal.git --depth 12.2 运行脚本。等待一段时间后,使用 Tab 键和方向键切换选项,使用空格选中选项。
cd MagiskOnWSALocal
./scripts/run.sh
2.3 选择符合你系统的类型(x64/arm64)。

2.4 WSA 版本推荐选择 insider fast (Dev Channel)。
2.5 选择是否 Root。
2.6 选择 Root 类型,如果对隐藏 Root 没有非常强烈的要求就选择 Magisk。自行搜索 Magisk 和 KernelSU 的区别。
2.7 Magisk 版本推荐选择 stable (Stable Channel)。
2.8 自行选择是否安装 GApps(Google 套件)。
2.9 自行选择是否保留 Amazon Appstore。
2.10 选择 Root 解决方案。
2.11 选择压缩输出,压缩格式自由选择。

-
将 MagiskOnWSALocal 生成的压缩包复制出来并解压(下文称为 “WSA 文件夹”)。以下命令为示例。
cp output/WSA_xxx.7z /mnt/e/xxx/
-
下载 WSAPatch 的最新 Release,将其中的 WsaPatch.dll 和 icu.dll 复制到 WSA 文件夹的 WsaClient 中。

-
修改 WSA 文件夹中的
AppxManifest.xml并保存。5.1 将
TargetDeviceFamily节点的MinVersion属性的值由10.0.22000.120改为10.0.19045.2311。<TargetDeviceFamily Name="Windows.Desktop" MinVersion="10.0.19045.2311" MaxVersionTested="10.0.22000.120" />5.2 搜索
customInstall,将相关节点删除。<rescap:Capability Name="customInstallActions" /><desktop6:Extension Category="windows.customInstall"> <desktop6:CustomInstall Folder="CustomInstall" desktop8:RunAsUser="true"> <desktop6:RepairActions> <desktop6:RepairAction File="WsaSetup.exe" Name="Repair" Arguments="repair" /> </desktop6:RepairActions> <desktop6:UninstallActions> <desktop6:UninstallAction File="WsaSetup.exe" Name="Uninstall" Arguments="uninstall" /> </desktop6:UninstallActions> </desktop6:CustomInstall> </desktop6:Extension> -
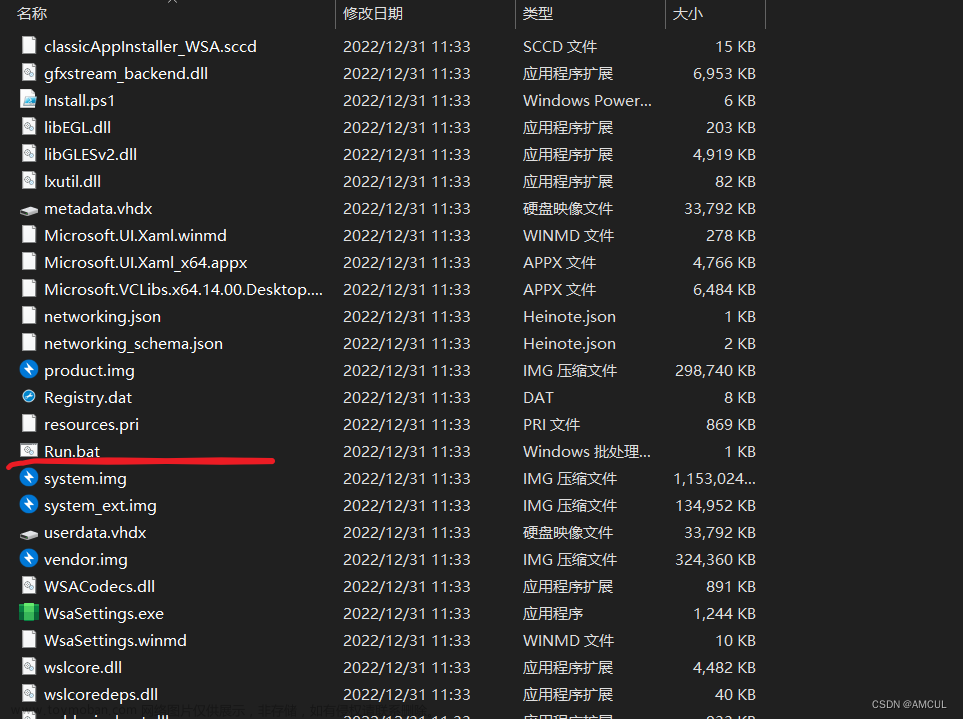
以管理员身份运行 WSA 文件夹的
Run.bat,如果闪退就双击运行。
注意事项:WSAPatch/README_zhs.md# 注意事项 at main・cinit/WSAPatch文章来源:https://www.toymoban.com/news/detail-462534.html
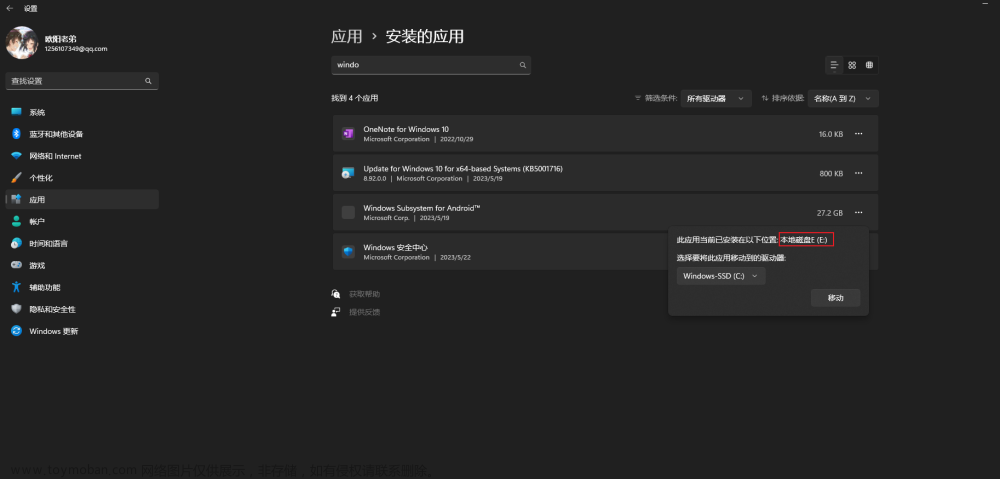
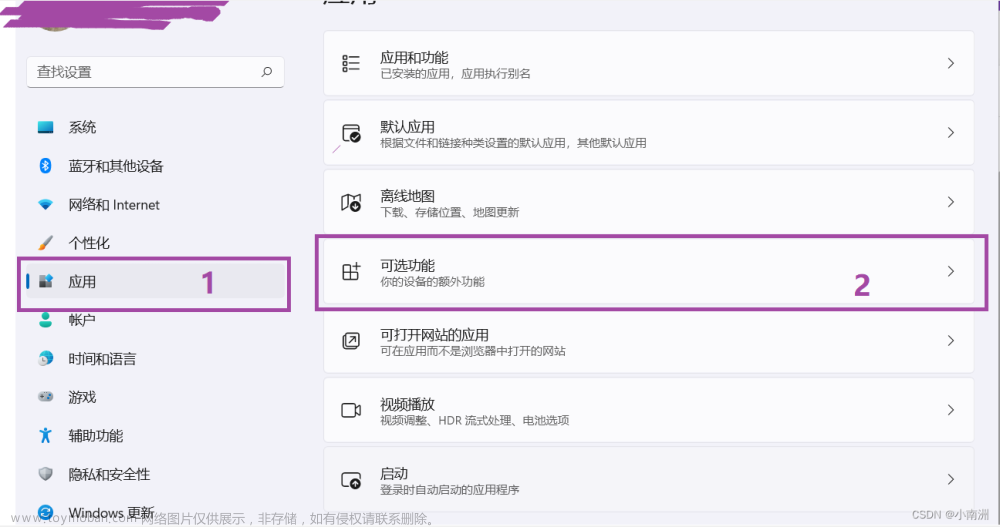
如果想卸载 WSA,可以在系统设置 - 应用 - 应用和功能中找到。 文章来源地址https://www.toymoban.com/news/detail-462534.html
使用 WSA 工具箱安装 APK
- 在 Microsoft Store 中安装 WSA 工具箱。
- 打开 WSA 工具箱,在 “故障诊断” 中点击第二个 “点击此处” 以打开 WSA。

- 开启
开发人员模式,在 WSA 工具箱的 “故障诊断” 中点击第一个 “点击此处” 以连接 WSA,并在 “是否运行 ADB 调试” 的弹框中勾选 “始终允许从此计算机” 后允许。


- 在 WSA 工具箱的 “安装 APK” 中 “选择 APK”,然后勾选需要安装的 APK,点击 “安装选中项” 即可。

- 安装后可以在 WSA 工具箱的 “APP 管理” 中运行或者按 Win 键在开始菜单中搜索运行。
参考
- cinit/WSAPatch: Make WSA(Windows Subsystem for Android) run on Windows 10.
- LSPosed/MagiskOnWSALocal: Integrate Magisk root and Google Apps into WSA (Windows Subsystem for Android)
到了这里,关于Windows 10 安装安卓子系统 WSA(Magisk/KernelSU)使用 WSA 工具箱安装 APK的文章就介绍完了。如果您还想了解更多内容,请在右上角搜索TOY模板网以前的文章或继续浏览下面的相关文章,希望大家以后多多支持TOY模板网!