⭐前言
大家好,我是yma16,本文分享关于vue2、vue3去掉url路由 # 号——nginx配置。
html的 hash模式
HTML的hash模式指的是URL中的锚点部分(#后面的内容)被用于在单个页面中显示不同的内容,而不是导航到不同的页面。例如:
https://example.com/#about
在这个示例中,
#about部分是一个锚点,用于在页面上显示关于页面的内容,而不是导航到一个新的页面。
在使用hash模式时,可以使用JavaScript监听hashchange事件,以便在锚点改变时执行相应的操作。这种模式常用于单页面应用程序(SPA),其中所有页面内容都在同一个HTML页面中加载,而不是通过导航到新页面来加载。此外,hash模式还可以用于在不刷新整个页面的情况下更改URL,以便在浏览器历史记录中创建可回退的状态。
html的 history模式
HTML5中的History API允许使用JavaScript动态更新URL并在历史记录中保存状态,而不会刷新整个页面。这就是所谓的“history模式”。它使用HTML5的pushState和replaceState方法来添加或修改浏览器历史记录中的条目。
在history模式下,URL的路径部分会随着用户的操作而变化,但实际页面内容不会刷新,这使得Web应用程序更具交互性和可访问性。
如果浏览器支持History API,那么就可以使用history.pushState()和history.replaceState()方法来更新浏览器的URL路径,从而可以实现前端路由,而不用像传统的多页面应用一样每次都请求服务器获取新的HTML页面。
⭐vue2中router默认出现#号
路由配置默认出现 #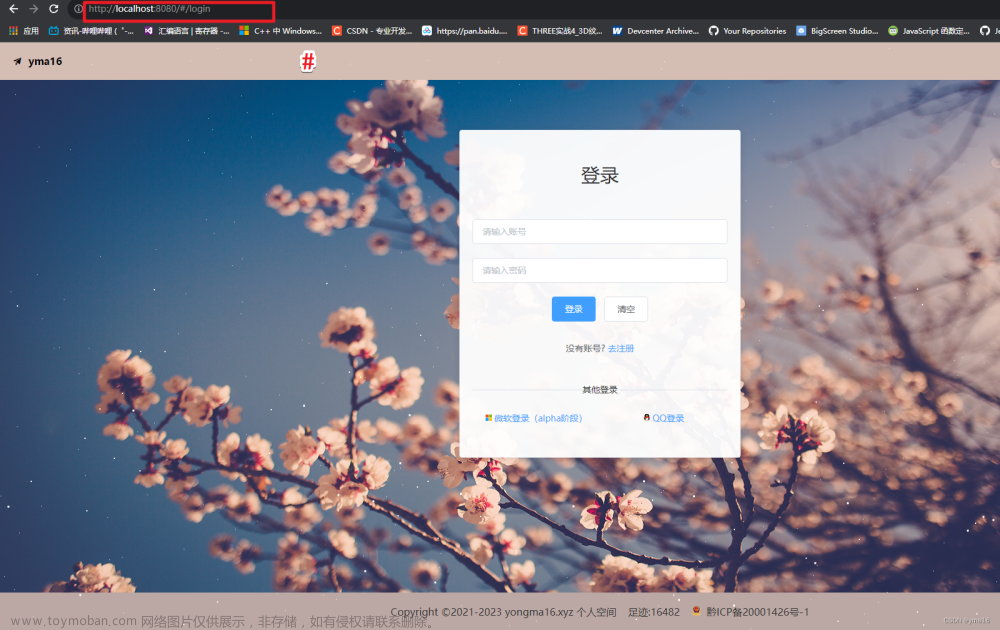
💖在vue2项目中去掉
关键配置
    // 路由
    const router = new VueRouter({
        mode: 'history',
        routes
    })
router的配置
import { isEmpty } from '@/utils'
import store from '@/store'

const Login = () => import('@/components/user/Login')
const Register = () => import('@/components/user/Register')
const Onlinewebsocket = () => import('@/components/websocket/Onlinewebsocket')

const Home = () => import('@/components/Home')
const Bilicom = () => import('@/components/Bilicom')
const Mavoneditor = () => import('@/components/Mavoneditor')
const GrilShow = () => import('@/components/GrilShow')

const Csslearn = () => import('@/views/cssView/Csslearn')
const Article = () => import('@/views/article/Article')
const defaultRoutes = [
    {
        path: '/',
        name: 'Article',
        component: Article,
        hidden: true
    },
    {
        path: '/login',
        name: 'Login',
        component: Login,
        hidden: false
    },
    {
        path: '/register',
        name: 'Register',
        component: Register,
        hidden: false
    },
    {
        path: '/home',
        name: 'Home',
        component: Home,
        hidden: true
    },
    {
        path: '/onlinewebsocket',
        name: 'Onlinewebsocket',
        component: Onlinewebsocket,
        hidden: true
    },
    {
        path: '/mavoneditor',
        name: 'Mavoneditor',
        component: Mavoneditor,
        hidden: true
    },
    {
        path: '/gril',
        name: 'grilshow',
        component: GrilShow,
        hidden: true
    },
    {
        path: '/css',
        name: 'css',
        component: Csslearn,
        hidden: true
    }
]

const useRouter = (Vue, VueRouter) => {
    let routes = [
        ...defaultRoutes
    ]
    const originalPush = VueRouter.prototype.push
    VueRouter.prototype.push = function push (location) {
        return originalPush.call(this, location).catch((err) => err)
    }
    // 路由
    const router = new VueRouter({
        mode: 'history',
        routes
    })

    router.beforeEach(async (to, from, next) => {
        let yma16siteUserInfo = localStorage.getItem('yma16siteUserInfo')
            ? JSON.parse(localStorage.getItem('yma16siteUserInfo'))
            : {}
        let name = yma16siteUserInfo.username
        let pwd = yma16siteUserInfo.password
        let thirdUserInfo = yma16siteUserInfo.thirdUserInfo

        console.log('to', to)
        let hasToken = {
            name: name,
            password: pwd,
            thirdUserInfo: thirdUserInfo
        }
        console.log('localStorage', hasToken)
        if (hasToken.name && hasToken.password) {
            if (!isEmpty(store.state.user.userInfo)) {
                try {
                    // 空的 modules下的user
                    console.log('路由的登录认证')
                    // 用户自主登录
                    await store.dispatch('user/loginUserInfo', hasToken)
                    next()
                } catch (e) {
                    console.error(e, 'e')
                    if (to.name === 'Login' || to.path === '/login' || to.name === 'register' || to.path === '/Register') {
                    // 避免同名路由无限循环
                        console.log('next')
                        next()
                    } else {
                        console.log('login router')
                        return next({ name: 'Login' }) // 去登录
                    }
                }
            } else {
                console.log('next')
                next()
            }
        } else if (to.name === 'Login' || to.path === '/login' || to.name === 'Register' || to.path === '/register') {
            console.log('next login register')
            // 避免同名路由无限循环
            next()
        } else {
            console.log('login router')
            return next({ name: 'Login' }) // 去登录
        }
        return false
    })

    Vue.use(VueRouter)
    return router
}

export default useRouter
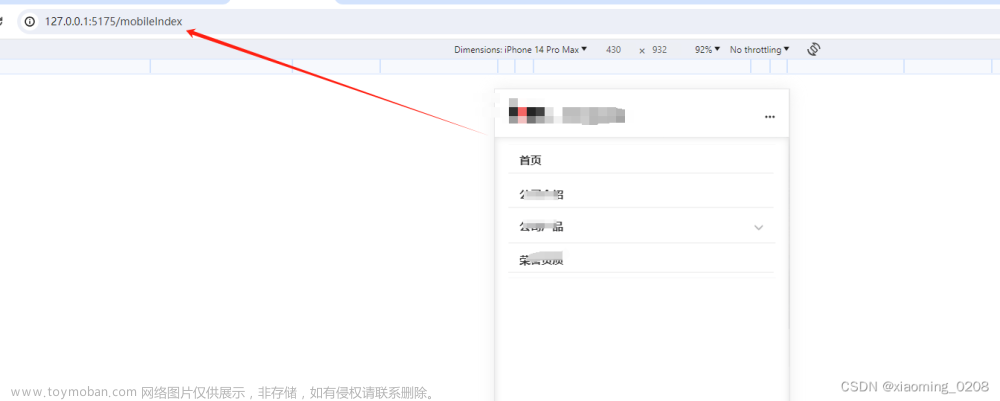
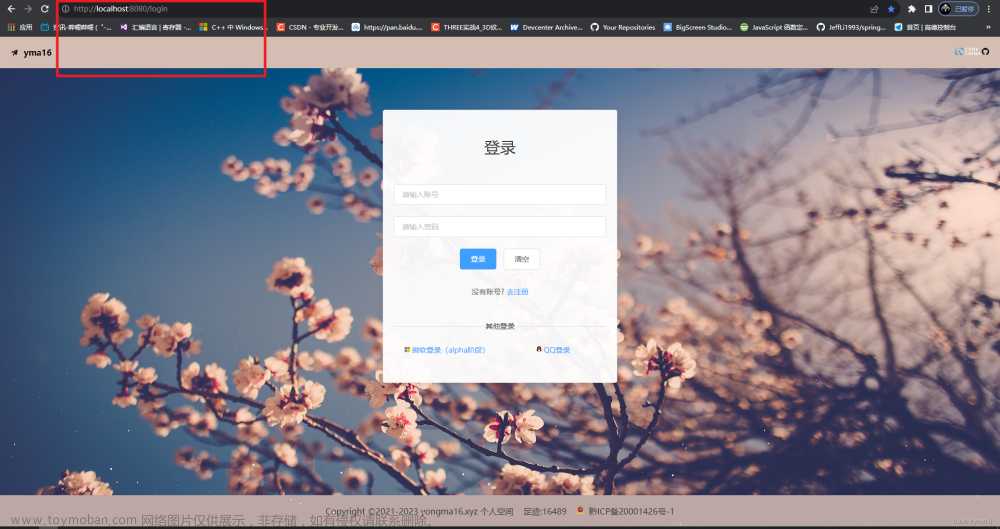
效果 url 没有 # 号
💖在vue3项目中去掉
import { createRouter, createWebHashHistory } from 'vue-router'

const router = createRouter({
  history: createWebHashHistory(),
  routes: [
    //...
  ],
})
createWebHashHistory变成createWebHistory
import { createRouter, createWebHistory } from 'vue-router'

const router = createRouter({
  history: createWebHistory(),
  routes: [
    //...
  ],
})
⭐vue打包 assetsPublicPath base 为绝对路径 /
💖vue2 配置 assetsPublicPath
"use strict";
// Template version: 1.3.1
// see http://vuejs-templates.github.io/webpack for documentation.

const path = require("path");

module.exports = {
  dev: {
    // Paths
    assetsSubDirectory: "myblog_static",
    assetsPublicPath: "/",
    proxyTable: {
      "/api/": {
        target: "后端接口地址", //后端接口地址
        ws: true, //接受websocket请求
        changeOrigin: true, //是否允许跨越
        chunkOrigins: true,
        pathRewrite: {
          "^/api": "api", //重写,
        },
      },
    },

    // Various Dev Server settings
    host: "localhost", // can be overwritten by process.env.HOST
    port: 8080, // can be overwritten by process.env.PORT, if port is in use, a free one will be determined
    autoOpenBrowser: false,
    errorOverlay: true,
    notifyOnErrors: true,
    poll: false, // https://webpack.js.org/configuration/dev-server/#devserver-watchoptions-

    // Use Eslint Loader?
    // If true, your code will be linted during bundling and
    // linting errors and warnings will be shown in the console.
    useEslint: false,
    // If true, eslint errors and warnings will also be shown in the error overlay
    // in the browser.
    showEslintErrorsInOverlay: false,

    /**
     * Source Maps
     */

    // https://webpack.js.org/configuration/devtool/#development
    devtool: "cheap-module-eval-source-map",

    // If you have problems debugging vue-files in devtools,
    // set this to false - it *may* help
    // https://vue-loader.vuejs.org/en/options.html#cachebusting
    cacheBusting: true,

    cssSourceMap: true,
  },

  build: {
    // Template for index.html
    index: path.resolve(__dirname, "../dist/index.html"),
    // Paths
    assetsRoot: path.resolve(__dirname, "../dist"),
    assetsSubDirectory: "myblog_static",
    assetsPublicPath: "/",
    /**
     * Source Maps
     */
    productionSourceMap: false,
    // https://webpack.js.org/configuration/devtool/#production
    devtool: "#source-map",
    // Gzip off by default as many popular myblog_static hosts such as
    // Surge or Netlify already gzip all myblog_static assets for you.
    // Before setting to `true`, make sure to:
    // npm install --save-dev compression-webpack-plugin
    productionGzip: true,
    productionGzipExtensions: ["js", "css"],

    isIgnoreLogs:true,
    // Run the build command with an extra argument to
    // View the bundle analyzer report after build finishes:
    // `npm run build --report`
    // Set to `true` or `false` to always turn it on or off
    bundleAnalyzerReport: process.env.npm_config_report,
  },
};
💖vue3 配置 base
import { defineConfig } from "vite";
import vue from "@vitejs/plugin-vue";
// @ts-ignore
import { resolve } from "path";
// @ts-ignore
import Components from "unplugin-vue-components/vite";
// @ts-ignore
import { AntDesignVueResolver } from "unplugin-vue-components/resolvers";

// https://vitejs.dev/config/
export default defineConfig({
  // 打包相对路径
  base: '/',
  server: {
    port: 3000,
    open: true,
    cors: true,
    proxy: {
      "^/cloudApi/": {
        target: "https://yongma16.xyz/back-front/",
        // target: "http://localhost:9090/",
        changeOrigin: true,
        ws: true,
        rewrite: (path) => path.replace(/^\/cloudApi/, ""),
      },
    },
  },
  "css": {
    preprocessorOptions: {
      less: {
        javascriptEnabled: true,
        patterns: [resolve(__dirname, "./src/style/main.less")],
      },
    },
  },
  resolve: {
    alias: {
      "@": resolve(__dirname, "src"),
    },
  },
  plugins: [
    vue(),
    Components({
      resolvers: [AntDesignVueResolver()],
    }),
  ],
});
💖验证
1.检查 路径十是否都是绝对路径
2. 本地打开index.html不可取,使用http-server启动打开
检查绝对路径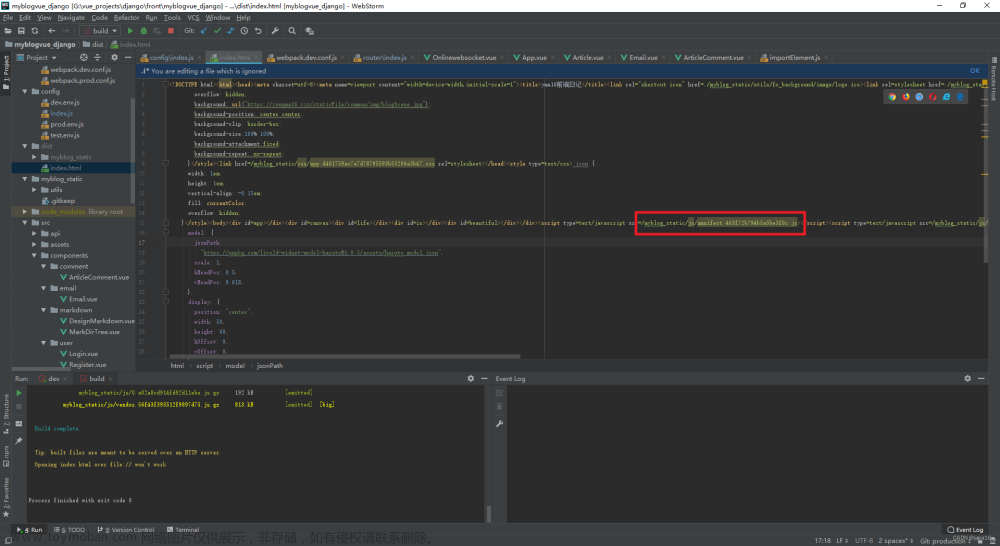
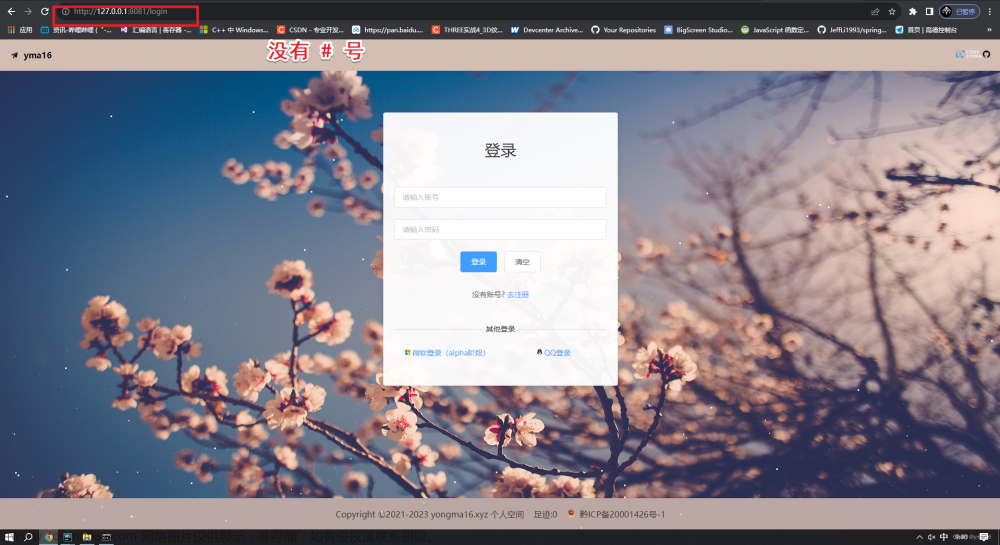
检查http-server可以运行vue而且没有#号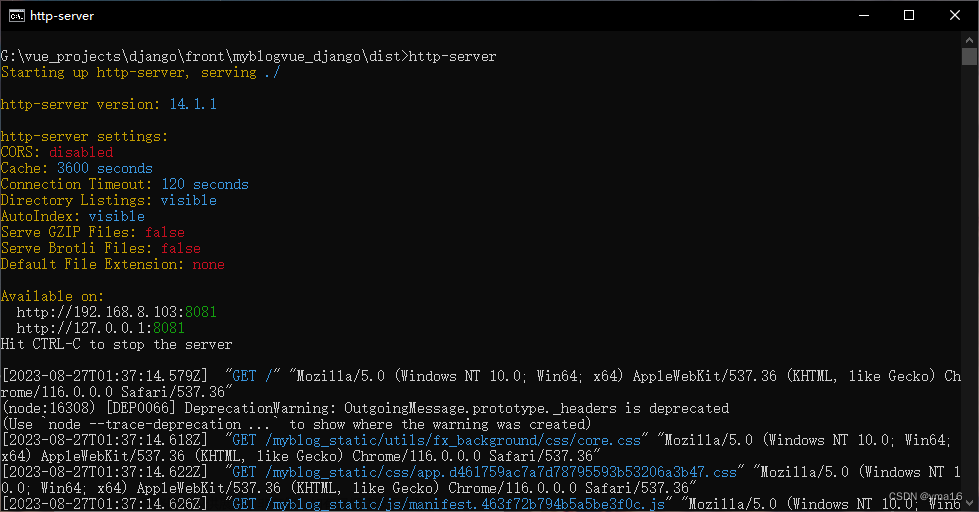
⭐nginx 配置
💖 使用默认的nginx 静态资源文件夹
- vue打包目录就放在 nginx 默认 html静态文件夹
location / {
  try_files $uri $uri/ /index.html;
}
💖 自定义静态资源文件夹
# 路径
location / {
	root /web-server/front-project/dist;
	try_files $uri $uri/ @router;
	index index.html index.htm;
}
# @router配置
location @router {
	rewrite ^.*$ /index.html last;
}
# 静态资源代理
location /myblog_static {
	alias /web-server/front-project/dist//myblog_static/;
}
效果:
https://yongma16.xyz/
⭐结束
本文分享到这结束,如有错误或者不足之处欢迎指出! 文章来源:https://www.toymoban.com/news/detail-675421.html
👍 点赞,是我创作的动力!
⭐️ 收藏,是我努力的方向!
✏️ 评论,是我进步的财富!
💖 感谢你的阅读!文章来源地址https://www.toymoban.com/news/detail-675421.html
到了这里,关于前端vue2、vue3去掉url路由“ # ”号——nginx配置的文章就介绍完了。如果您还想了解更多内容,请在右上角搜索TOY模板网以前的文章或继续浏览下面的相关文章,希望大家以后多多支持TOY模板网!