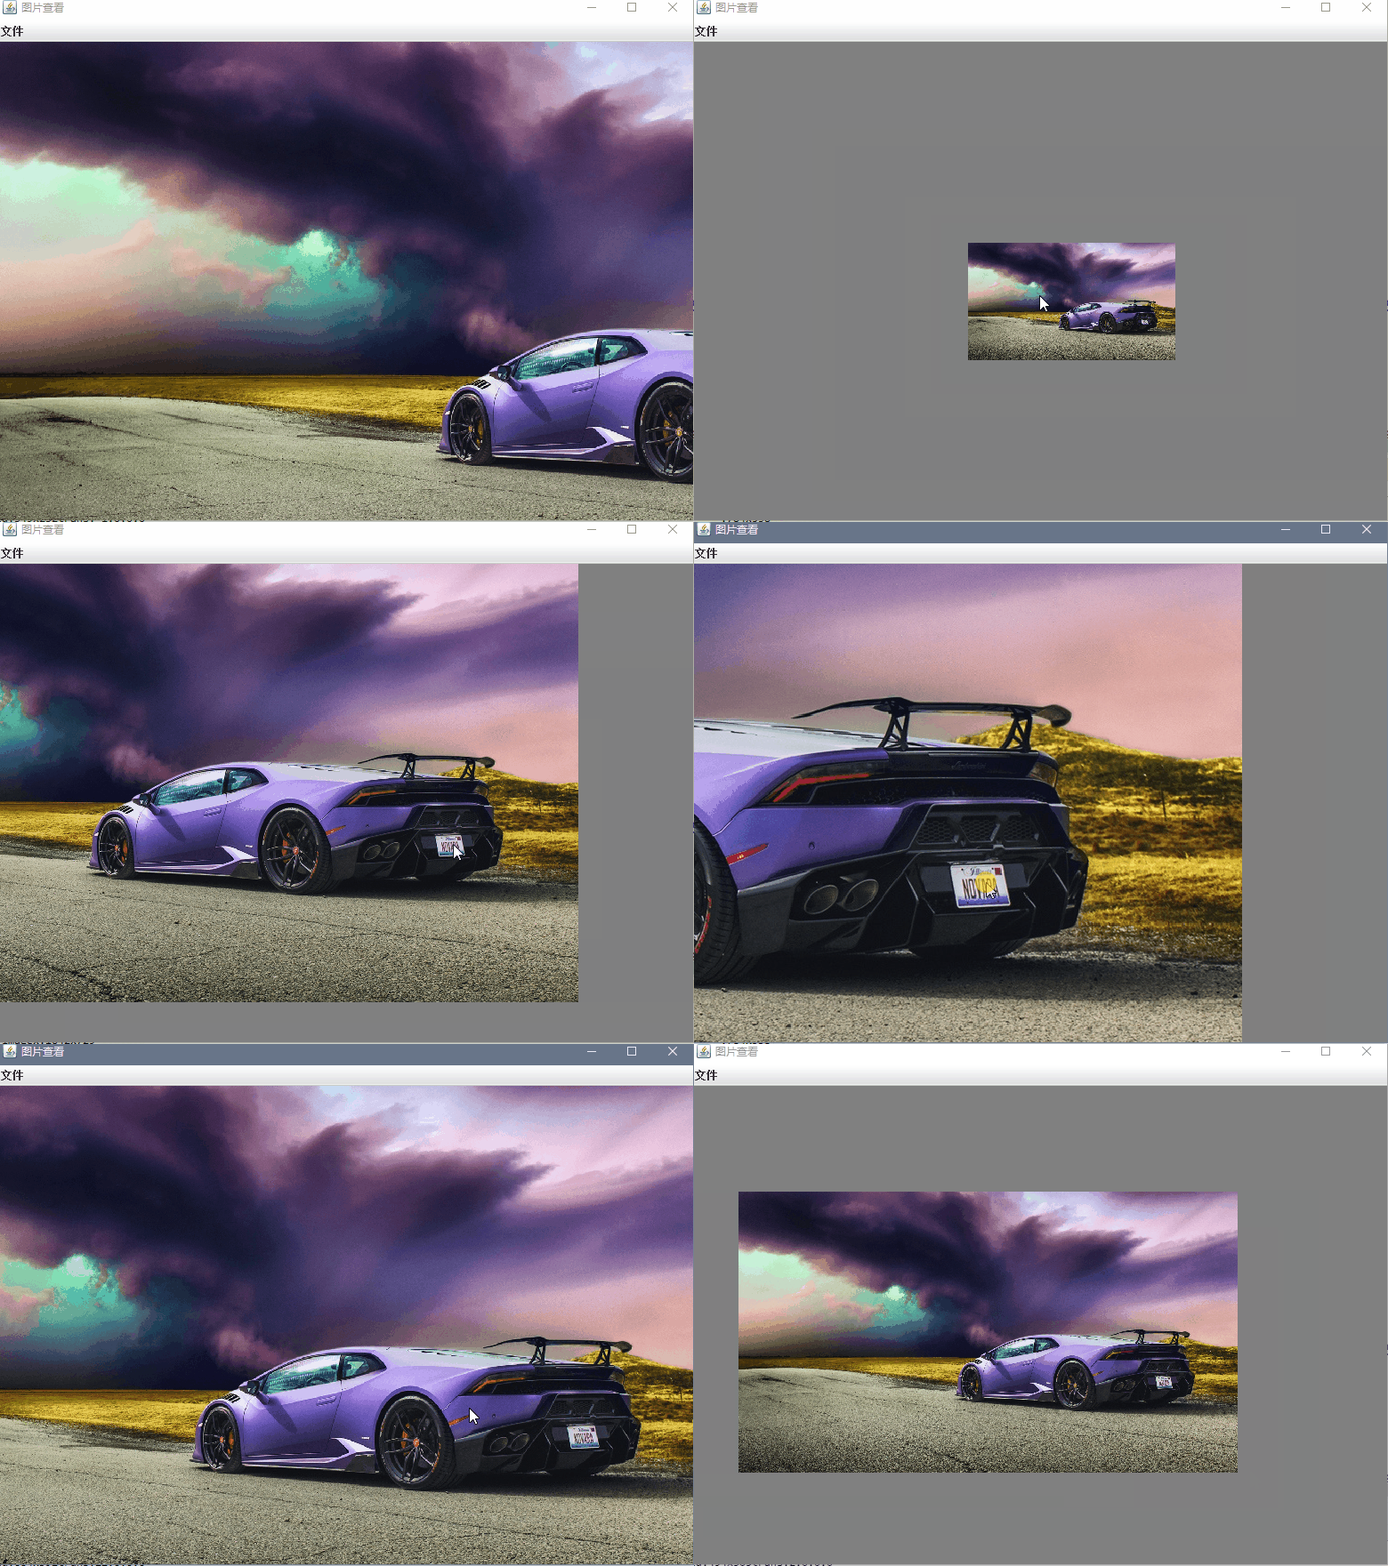
TwelveMonkeys的使用比较简单,只要把相关的jar包加入到类路径,他的类我们基本不会用到,只要使用jdk ImageIO或其上层的接口就行了。jdk的ImageIO有自动发现功能,会自动查找相关的编解码类并使用,而不使用jdk默认的编解码类,所以使用这个库是完全无入侵的
用到两个第三方库
1、thumbnailator:https://github.com/coobird/thumbnailator
2、TwelveMonkeys:https://github.com/haraldk/TwelveMonkeys
thumbnailator是图片处理的工具类,提供了很多图片处理的便捷的方法,这样我们就不要用jdk底层的ImageIO类了
TwelveMonkeys是一个图片编解码库,支持bmp,jpeg,tiff,pnm,psd等。jdk本身也支持一些图片的处理,如jpeg,bmp,png,但是jdk的图片编解码库不是很强。
为什么需要TwelveMonkeys?我在处理jpeg图片的时候,发现用jdk自带的jpeg解析器不能解析所有的jpeg格式文件(如cmyk)。出现unsupported formate 错误,用这个库后,没有出现错误。
thumbnailator的功能有按比例缩放,固定尺寸缩放,按尺寸等比缩放,旋转,加水印,压缩图片质量。thumbnailator固定尺寸缩放有可能会造成图片变型,有的时候我们可能需要固定尺寸并等比缩放,不够的地方补上空白。它没有提供直接的功能。下面是自己写的代码
| 1 2 3 4 5 6 7 8 9 10 11 12 13 14 15 16 17 18 19 20 21 22 23 24 25 26 27 28 |
|
Examples
Create a thumbnail from an image file
Thumbnails.of(new File("original.jpg"))
        .size(160, 160)
        .toFile(new File("thumbnail.jpg"));
In this example, the image from original.jpg is resized, and then saved to thumbnail.jpg.
Alternatively, Thumbnailator will accept file names as a String. Using File objects to specify image files is not required:
Thumbnails.of("original.jpg")
        .size(160, 160)
        .toFile("thumbnail.jpg");
This form can be useful when writing quick prototype code, or when Thumbnailator is being used from scripting languages.
Create a thumbnail with rotation and a watermark
Thumbnails.of(new File("original.jpg"))
        .size(160, 160)
        .rotate(90)
        .watermark(Positions.BOTTOM_RIGHT, ImageIO.read(new File("watermark.png")), 0.5f)
        .outputQuality(0.8)
        .toFile(new File("image-with-watermark.jpg"));
In this example, the image from original.jpg is resized, then rotated to clockwise by 90 degrees, then a watermark is placed at the bottom right-hand corner which is half transparent, then is saved to image-with-watermark.jpg with 80% compression quality settings.
Create a thumbnail and write to an OutputStream
OutputStream os = ...;

Thumbnails.of("large-picture.jpg")
        .size(200, 200)
        .outputFormat("png")
        .toOutputStream(os);
In this example, an image from the file large-picture.jpg is resized to a maximum dimension of 200 x 200 (maintaining the aspect ratio of the original image) and writes the that to the specified OutputStream as a PNG image.
Creating fixed-size thumbnails
BufferedImage originalImage = ImageIO.read(new File("original.png"));

BufferedImage thumbnail = Thumbnails.of(originalImage)
        .size(200, 200)
        .asBufferedImage();
The above code takes an image in originalImage and creates a 200 pixel by 200 pixel thumbnail using and stores the result in thumbnail.
Scaling an image by a given factor
BufferedImage originalImage = ImageIO.read(new File("original.png"));

BufferedImage thumbnail = Thumbnails.of(originalImage)
        .scale(0.25)
        .asBufferedImage();
The above code takes the image in originalImage and creates a thumbnail that is 25% of the original image, and uses the default scaling technique in order to make the thumbnail which is stored in thumbnail.
Rotating an image when creating a thumbnail
BufferedImage originalImage = ImageIO.read(new File("original.jpg"));

BufferedImage thumbnail = Thumbnails.of(originalImage)
        .size(200, 200)
        .rotate(90)
        .asBufferedImage();
The above code takes the original image and creates a thumbnail which is rotated clockwise by 90 degrees.
Creating a thumbnail with a watermark
BufferedImage originalImage = ImageIO.read(new File("original.jpg"));
BufferedImage watermarkImage = ImageIO.read(new File("watermark.png"));

BufferedImage thumbnail = Thumbnails.of(originalImage)
        .size(200, 200)
        .watermark(Positions.BOTTOM_RIGHT, watermarkImage, 0.5f)
        .asBufferedImage();
As shown, a watermark can be added to an thumbnail by calling the watermark method.
The positioning can be selected from the Positions enum.
The opaqueness (or conversely, transparency) of the thumbnail can be adjusted by changing the last argument, where 0.0f being the thumbnail is completely transparent, and 1.0f being the watermark is completely opaque.
Writing thumbnails to a specific directory
File destinationDir = new File("path/to/output");

Thumbnails.of("apple.jpg", "banana.jpg", "cherry.jpg")
        .size(200, 200)
        .toFiles(destinationDir, Rename.PREFIX_DOT_THUMBNAIL);
This example will take the source images, and write the thumbnails them as files to destinationDir (path/to/output directory) while renaming them with thumbnail. prepended to the file names.
Therefore, the thumbnails will be written as files in:
path/to/output/thumbnail.apple.jpgpath/to/output/thumbnail.banana.jpgpath/to/output/thumbnail.cherry.jpg
It's also possible to preserve the original filename while writing to a specified directory:文章来源:https://www.toymoban.com/news/detail-690824.html
File destinationDir = new File("path/to/output");

Thumbnails.of("apple.jpg", "banana.jpg", "cherry.jpg")
        .size(200, 200)
        .toFiles(destinationDir, Rename.NO_CHANGE);
In the above code, the thumbnails will be written to:文章来源地址https://www.toymoban.com/news/detail-690824.html
path/to/output/apple.jpgpath/to/output/banana.jpgpath/to/output/cherry.jpg
Examples
Create a thumbnail from an image file
Thumbnails.of(new File("original.jpg"))
        .size(160, 160)
        .toFile(new File("thumbnail.jpg"));
In this example, the image from original.jpg is resized, and then saved to thumbnail.jpg.
Alternatively, Thumbnailator will accept file names as a String. Using File objects to specify image files is not required:
Thumbnails.of("original.jpg")
        .size(160, 160)
        .toFile("thumbnail.jpg");
This form can be useful when writing quick prototype code, or when Thumbnailator is being used from scripting languages.
Create a thumbnail with rotation and a watermark
Thumbnails.of(new File("original.jpg"))
        .size(160, 160)
        .rotate(90)
        .watermark(Positions.BOTTOM_RIGHT, ImageIO.read(new File("watermark.png")), 0.5f)
        .outputQuality(0.8)
        .toFile(new File("image-with-watermark.jpg"));
In this example, the image from original.jpg is resized, then rotated to clockwise by 90 degrees, then a watermark is placed at the bottom right-hand corner which is half transparent, then is saved to image-with-watermark.jpg with 80% compression quality settings.
Create a thumbnail and write to an OutputStream
OutputStream os = ...;

Thumbnails.of("large-picture.jpg")
        .size(200, 200)
        .outputFormat("png")
        .toOutputStream(os);
In this example, an image from the file large-picture.jpg is resized to a maximum dimension of 200 x 200 (maintaining the aspect ratio of the original image) and writes the that to the specified OutputStream as a PNG image.
Creating fixed-size thumbnails
BufferedImage originalImage = ImageIO.read(new File("original.png"));

BufferedImage thumbnail = Thumbnails.of(originalImage)
        .size(200, 200)
        .asBufferedImage();
The above code takes an image in originalImage and creates a 200 pixel by 200 pixel thumbnail using and stores the result in thumbnail.
Scaling an image by a given factor
BufferedImage originalImage = ImageIO.read(new File("original.png"));

BufferedImage thumbnail = Thumbnails.of(originalImage)
        .scale(0.25)
        .asBufferedImage();
The above code takes the image in originalImage and creates a thumbnail that is 25% of the original image, and uses the default scaling technique in order to make the thumbnail which is stored in thumbnail.
Rotating an image when creating a thumbnail
BufferedImage originalImage = ImageIO.read(new File("original.jpg"));

BufferedImage thumbnail = Thumbnails.of(originalImage)
        .size(200, 200)
        .rotate(90)
        .asBufferedImage();
The above code takes the original image and creates a thumbnail which is rotated clockwise by 90 degrees.
Creating a thumbnail with a watermark
BufferedImage originalImage = ImageIO.read(new File("original.jpg"));
BufferedImage watermarkImage = ImageIO.read(new File("watermark.png"));

BufferedImage thumbnail = Thumbnails.of(originalImage)
        .size(200, 200)
        .watermark(Positions.BOTTOM_RIGHT, watermarkImage, 0.5f)
        .asBufferedImage();
As shown, a watermark can be added to an thumbnail by calling the watermark method.
The positioning can be selected from the Positions enum.
The opaqueness (or conversely, transparency) of the thumbnail can be adjusted by changing the last argument, where 0.0f being the thumbnail is completely transparent, and 1.0f being the watermark is completely opaque.
Writing thumbnails to a specific directory
File destinationDir = new File("path/to/output");

Thumbnails.of("apple.jpg", "banana.jpg", "cherry.jpg")
        .size(200, 200)
        .toFiles(destinationDir, Rename.PREFIX_DOT_THUMBNAIL);
This example will take the source images, and write the thumbnails them as files to destinationDir (path/to/output directory) while renaming them with thumbnail. prepended to the file names.
Therefore, the thumbnails will be written as files in:
path/to/output/thumbnail.apple.jpgpath/to/output/thumbnail.banana.jpgpath/to/output/thumbnail.cherry.jpg
It's also possible to preserve the original filename while writing to a specified directory:
File destinationDir = new File("path/to/output");

Thumbnails.of("apple.jpg", "banana.jpg", "cherry.jpg")
        .size(200, 200)
        .toFiles(destinationDir, Rename.NO_CHANGE);
In the above code, the thumbnails will be written to:
path/to/output/apple.jpgpath/to/output/banana.jpgpath/to/output/cherry.jpg
到了这里,关于Java CMYK图片转RGB图片(TwelveMonkeys方式)的文章就介绍完了。如果您还想了解更多内容,请在右上角搜索TOY模板网以前的文章或继续浏览下面的相关文章,希望大家以后多多支持TOY模板网!


